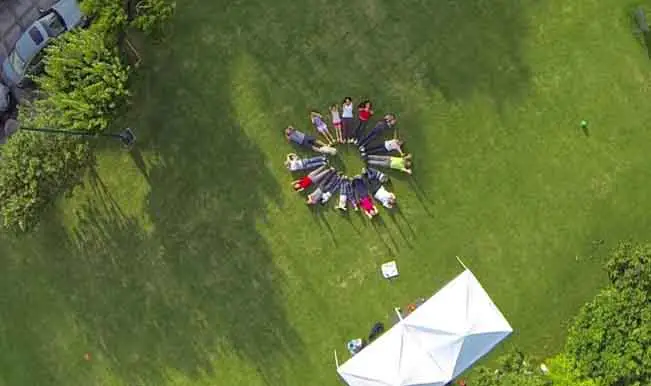
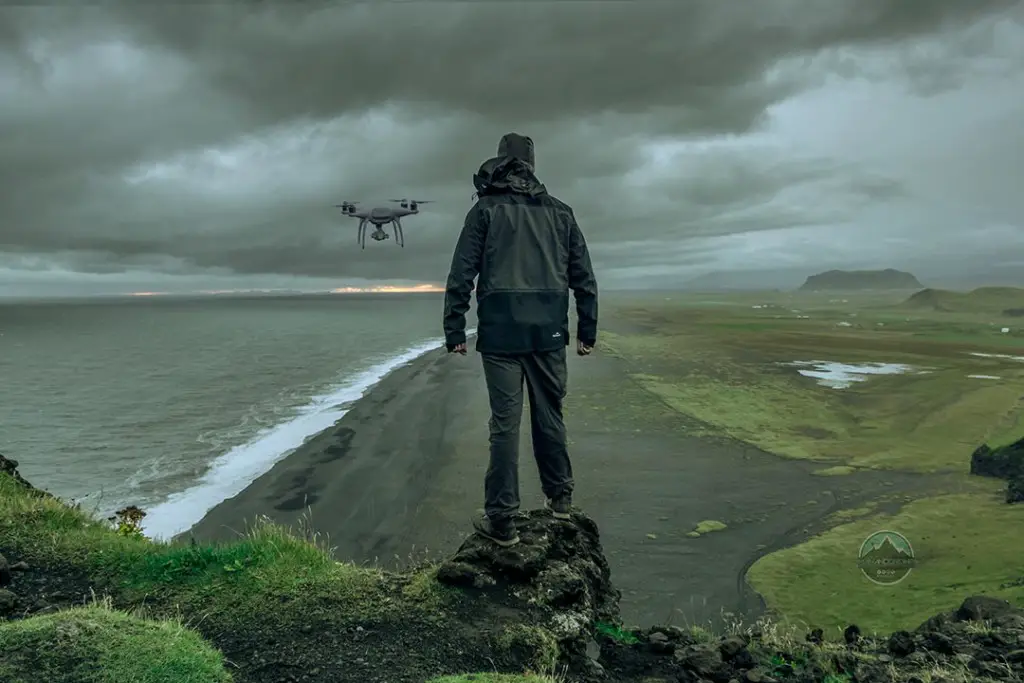
A Dronie is one of the coolest features of the drone that you can go for and have cool shots.
Instead of taking the picture, the drone captures the short video in this mode. The drone flies up and away from you in this mode while keeping the subject in the frame.
It captures the true essence of the subject and the landscape around it. You can also call dronie an ultimate selfie. You can take this shot while flying it alone or with a group.
But, if you want a good dronie, I would suggest you ask someone else to fly the drone for you.
Ask that person to hide in the place so that he doesn’t come into the frame.
This kind of video gives a different cinematic look. If you are shooting in a jungle, it looks like you are alone in the wilderness.
You can control the dronie shots manually, or you can also use the auto function.
If you are a beginner, I would highly recommend going with the inbuilt mode because that will provide a better smooth video free from any jelly effect.

Drone Selfies are also very popular, and even there are some drones specially built for taking selfies.
After the popularity of these drones, the videographers and photographers have achieved a new dimension.
These kinds of shots are not possible by human photographers and videographers.
Earlier, people used to hire helicopters to take these shots, but drones have drastically brought down the cost.
Nowadays, drones come with advanced features like artificial intelligence, gesture and face recognition, and computer vision.
You can also use the drone to follow me, a mode where you can shoot while driving a car or riding a bike (only recommended for professional drone flyers).
In the below section, we will discuss other important parts of dronie that include how to take the cool dronie, the DJI spark dronie settings and all the different cool modes like dronie you can go for?
Table of Contents
How to Make a Cool Dronie Shot (6 Tricks)

Taking a cool dronie shot requires practice. I mean, good practice. The drones which have inbuilt dronie features are generally costly, so you don’t want to mess with them without knowing their proper functionality.
You don’t want to risk your drone for the sake of a selfie.
Even though you have flown the drones before, I would highly recommend knowing the proper handling of the drone before you start using it for hard modes because all drones have different handling and control.
So, Below are some of the important things that you have to keep in mind.
1- Practice
Practice makes a man perfect. It would help if you spent some time with the drone you are planning to take a dronie.
There are different kinds of variations that you can try with the dronie, so try those sequences repeatedly until you master them.
Don’t rush while learning the new modes with the quadcopter. Take your time, and gradually, you will become perfect in it.
2- Location Scouting
This is a very important part that many people miss out on. The dronie shots are less about you. Instead, it’s more about the landscape, the location where you are shooting.
So, if you are shooting on the road and there is a dump of garbage beside you, believe me, it’s never going to look good, no matter how you fly your drone and how good you look.
You can have great shots at hills, nearby lakes, deserts, and in the jungle.
3- Have Fun
If you are doing everything on your own, handling the drone, finding the location, and then you come in the frame with the remote controller in your hand, it’s going to look super boring.
I would suggest going with your friends, and it will be easier for you. You can take cool dronie shots of your friend while you are hiding in someplace, from where you are not that visible.
The point is that shots become more interesting if you have fun in the whole process.
4- Avoid Pitfalls
When you take these kinds of shots, you will be flying the drone up and away from you. Make sure; you don’t crash your drone in trees or power lines.
As you would be flying the drone very high, make sure you are near any aviation area and following all the FAA guidelines.
When operating in the desert or hill, it won’t be that difficult but when you are operating in the jungle, then make sure from wherever your drone is taking off, it has a proper open area to take off, there should not be any hurdle.
These pitfall cross-checks should be part of your location scouting. Nobody likes losing their drone.
5- Stand Out
When you are shooting yourself in a dense wilderness, make sure you wear not green clothes. Otherwise, you will be lost in the frame.
The subject in the composition should stand out, so make sure you wear the apparel that stands out.
If you are shooting for your friend and you want to hide, you can wear something that is not very visible, and your friend can go with some funky, colorful attire.
So, preplan it properly. Your outfit should look different from the location so that when the camera zooms out, you are easy to spot. People who are not supposed to be in the frame can blend in.
6-Avoid Bad Weather
Bad weather can jeopardize everything. If your doing is not moist proof and the weather is cold and drizzling, it’s not good for the quadcopter.
Also, make sure that it’s not windy because that will hinder the stability of the drone, and you might see some jerk in the footage, and that will not look good from any angle.
The important factor of a dronie is that the camera zooming out process should be very smooth and stable. A slight jitter will ruin it entirely.
So, check the weather forecast; sometimes, you go far away for the location and then find the rain waiting for you. Try to shoot around noontime because the clear blue sky in the background gives a different look altogether.
How to Take a Dronie in DJI Spark
Many DJI Spark users were asking recently, what are the settings options of DJI Spark Dronie. So, steps are very simple. For Mavic Pro and phantom, it would be slightly different. So, follow the below points for DJI Spark dronie.
- First, you need to open the DJI Go 4 app on your smartphone and set your drone in P Mode.
- Then in the menu options, go to Quick Shots.
- Once you have entered the quick shots mode, you can select the subject in the frame by dragging the box over it.
- Then you can select the circle mode from the bottom menu. With the help of a circle, you can adjust the diameter around the subject.
- After tapping the circle, you can adjust how far the drone should fly away. While selecting this setting, ensure that you also keep your surrounding hindrance into consideration.
- Once you click the GO, the drone will start circling and make a 10second clip.
- Once the shot is completed, the dronie video is recorded, the drone will automatically safely return to the locked home position.
Cool Modes Like Dronies
There are several other cool modes like dronie available that you can try and showcase your videography skills.
You can also call these alternatives of dronie mode.
These modes come with high-end DJI drones and might not be available with some drones. So, let’s dive into them one by one.
1- Rocket Mode
This is a pretty cool mode and simple as well. Instead of the drone going away in this mode, it only goes up, and the camera points down. The feature is also available in Mavic Pro, Inspire, and Phantom.
When you are going on a bike trip and suddenly want to take some cool video, you can put your bike on the stand, lie on the seat and let the drone take care of the rest.
These types of shots are very popular among some Instagram influencers and some YouTubers.
If you watch Arthur Moore, you might have seen him using this shot very often on his channel.
2- Helix
This is similar to the orbit mode that you get in some DJI drones. In this mode, the drone orbits around the subject and goes away.
It is not that simple, and you will need some time to master it. There are. Also, you have to feed to the quadcopter that includes radius, speed, rounds, etc.
3- Active Track Mode
This is one of my favorite modes, also known as follow me mode. It is specially made for moving objects.
Let’s say if you are moving on a bike, and you want the drone to follow you, then this mode would be the right choice.
The subject must be different from the background; it should stand out. Before starting this mode, you have to select the subject on the screen, and then it will follow up as the subject moves.
Make sure; you also don’t drive too fast as well. If you are flying the Mavic pro, then the max speed of the moving object should not be more than 30mph.
4- Tripod Mode
If you want things to be slow, then this is the mode that you should try. You can also call it the opposite of the sports mode.
Once you put your quadcopter in this mode, the speed of the quadcopter will drastically be reduced.
According to the DJI, it would be around 2-3mph.
Best Drone Shots Ever Taken: Watch till the End